Lesson 3: The First Note
In this lesson we will learn how to sit with the seat strap secured under our legs, as well as where to put the fingers of your left hand on the bassoon. We will also learn how to play our first note on our bassoon! Be sure to scroll down below the video for more information.
Notes used in this lesson:
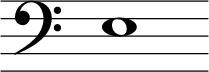
This note is called "E"
|
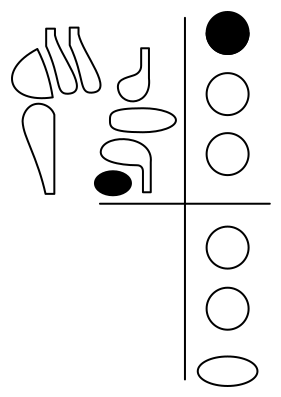
The diagram to the right is called a "fingering diagram." It shows you which holes to cover and/or which keys to press to play a given note.
The top left quadrant represents the keys available to the left thumb. The top right quadrant shows the front of the wing joint where the left fingers are. The bottom right quadrant displays the front of the boot joint where the right fingers will later be placed. In this case, to play the note "E" shown at left, we are pressing down one key with the left thumb and covering the top hole with the left index finger. |
|

|

|
